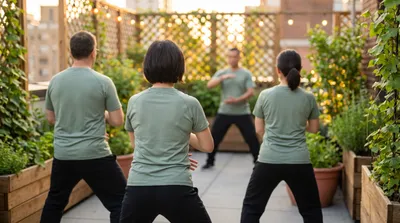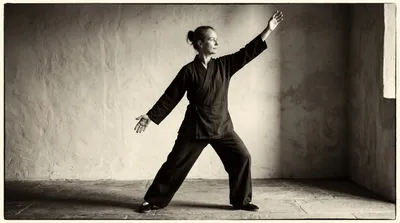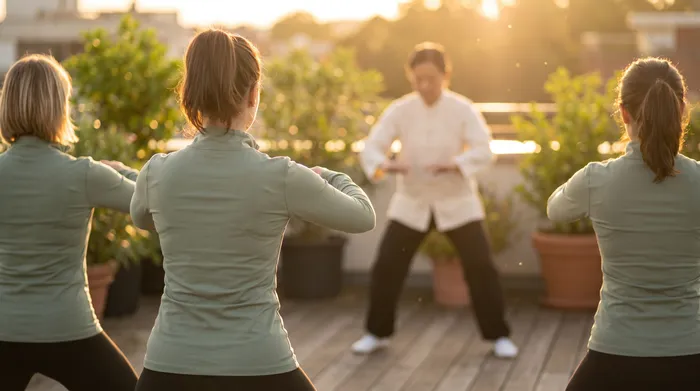
Strictly speaking, tai chi has no poses. The art is continuous movement, and every position in it is a moment being passed through, not a shape being held. But “strictly speaking” is unhelpful to a beginner, and the tradition itself disagrees in practice: teachers everywhere isolate key positions, hold them, correct them, and drill them, because a form built from ten well-understood shapes beats a form built from none.
This guide covers ten foundational positions — three stances that underlie everything, and seven postures from the mainstream Yang-derived vocabulary — with enough how-to detail to practise each on its own. It is a companion to the reference list of movement names, which catalogues the vocabulary; this article teaches the shapes. If you want the full getting-started path around this material, that is the complete beginners guide.
Two ground rules before the list. Warm up first — five minutes of the standard warm-up movements is enough. And keep every stance higher than you think you should: depth is a variable for later years, and every position below works at whatever height your knees are happy with.
A word on names, since sources disagree. The postures below carry their common Yang-style English names, but translations vary — Ward Off is also rendered as Peng or Warding, Wave Hands Like Clouds becomes Cloud Hands, and so on — and the same shape can differ in detail between styles and even between teachers within a style. None of that matters at this stage. Learn the shapes; the vocabulary sorts itself out later.
The Three Stances
Stances are the grammar; postures are the sentences. These three cover most of what any beginner form asks of the legs.
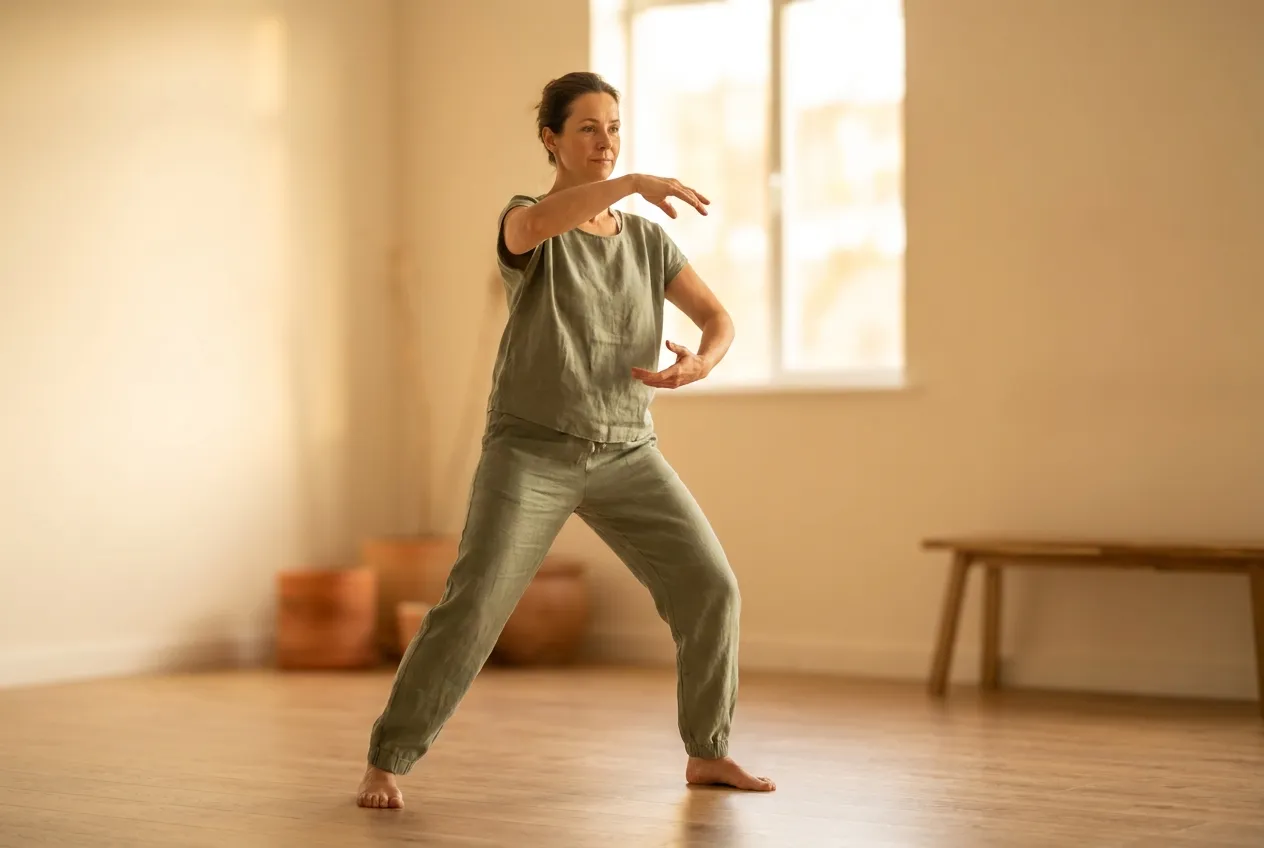
1. Wuji Stance — The Neutral Standing Position
Feet parallel, shoulder-width apart. Knees soft, never locked. Weight even between the feet and spread across each whole foot. Tailbone dropped slightly, so the lower back lengthens rather than arches. Head balanced as though suspended from above; shoulders released; arms hanging.
This is the position every form begins and ends in, and the reference posture for everything else. Practising it means standing in it, attentively, for one to three minutes — noticing where tension gathers and releasing it, over and over. It looks like nothing; it teaches alignment, which is everything. Done for longer periods it becomes standing meditation proper.
Common faults: locked knees, weight in the heels, chin poking forward, and — subtlest of all — standing in it without attention, which converts the exercise into merely waiting.
2. Bow Stance (Gong Bu) — The Forward Position
One foot forward, one back, roughly hip-width apart sideways (not on a tightrope), back foot angled out around forty-five degrees. Front knee bends over the front foot — never past the toes, never collapsing inward — while the back leg stays extended but not locked. Weight roughly seventy percent front, thirty back. Hips face forward, both feet flat.
The bow stance is where tai chi delivers force and where most forward postures live. The checkpoint that matters most: you should be able to lift the back heel a centimetre without your torso lurching, which proves the weight is genuinely where you think it is.
Common faults: stance too narrow (wobbling), front knee drifting inward, back foot rolling onto its edge.
3. Empty Stance (Xu Bu) — The Weightless Foot
Nearly all the weight on one leg, the other foot touching the ground ahead — toe or heel — carrying nothing. The supporting knee is soft; the torso stays vertical rather than leaning back to compensate.
“Empty” means exactly that: the front foot could lift at any instant. This stance trains single-leg commitment, the skill underneath all tai chi stepping, and it is the position in which several signature postures sit. If you can stand in an honest empty stance for five breaths a side, your form will be better than most beginners’ by that fact alone.
Common faults: secretly weighting the empty foot, leaning backwards, supporting knee locking.
The Seven Postures
Each of these appears, in some version, in virtually every Yang-derived form, including the 24-form most beginners learn. Practise them individually — held for a few breaths, entered and left slowly — on both sides, even where the form only uses one.
4. Holding the Ball
A transition posture used constantly. Standing with weight on one leg, the arms curve as though holding a large ball at the chest — one hand above, palm down, one below, palm up. Elbows heavy, shoulders down, space under the armpits.
It trains the rounded, connected arm shape (peng structure) that tai chi maintains everywhere, and it is the position from which most of the following postures unfold. As a held exercise it doubles as the basic standing practice.
5. Ward Off (Peng)
From holding the ball, step into a bow stance as the lower arm rises to chest height, curved as though resting on the ball’s surface, palm toward you; the other hand settles beside the hip, palm down. The rounded front arm expands slightly outward — not a push, an inflation.
Ward off is the first of tai chi’s four primary energies and arguably its signature shape: structure that yields nothing while forcing nothing. Every correction you receive here — shoulder down, elbow heavy, waist square — pays rent across the entire form.
6. Brush Knee and Push
A bow stance posture: one hand sweeps low past the front knee, as though brushing something aside, finishing beside the thigh; the other pushes forward from beside the ear, palm out, arm extended but softly bent. The push arrives as the weight arrives — hand and body finishing together is the entire lesson.
This is the posture that teaches sequencing: legs, then waist, then hand, one wave. If the hand gets there before the weight does, everything after this in tai chi will be harder.
7. Single Whip
The most recognisable position in the art. One hand forms a hook — fingertips gathered, wrist bent, arm extended to the side and slightly back — while the other palm presses forward-ish across the body, in a wide bow stance, arms spread as though the body were a drawn bow.
Single whip stretches the whole upper span and demands that the two arms do different things while the trunk stays organised — a coordination milestone. Expect it to feel like patting your head and rubbing your stomach for the first month; that is normal and temporary.
8. White Crane Spreads Its Wings
An empty-stance posture: weight settled fully on the rear leg, front foot touching lightly, one arm raised to forehead height with the palm angled out, the other settled beside the hip, palm down — the body open between them like the bird mid-stretch.
It combines the empty stance’s balance demand with vertical arm separation, and it is the posture where leaning back to cheat is most tempting. The vertical torso is the discipline. A fuller breakdown, including its martial reading, is in the white crane article.
9. Wave Hands Like Clouds
Less a pose than a repeating cycle, but it belongs here because it is the best standalone drill in the vocabulary. Weight shifts fully side to side as the hands exchange positions — one at eye height, one at waist height — passing in front of the body, the waist turning to carry them, with sideways steps once the stationary version is smooth.
Cloud hands trains everything at once at beginner-accessible intensity: weight transfer, waist-led arms, continuous movement. Two minutes of it daily is a complete micro-practice.
10. Golden Rooster Stands on One Leg
The balance benchmark: standing fully on one leg, the other knee raised toward hip height, the same-side arm rising with it, fingertips up, other hand pressing gently down beside the hip. Vertical torso, soft standing knee, eyes level.
Raise the knee only as high as balance allows — hip height is the destination, not the entry requirement — and stand near support if needed. Held for growing counts on each side, this posture is the most efficient balance trainer in the set, which is why physiotherapy borrowed it.
From Poses to Form
The obvious question once these feel familiar: what next?
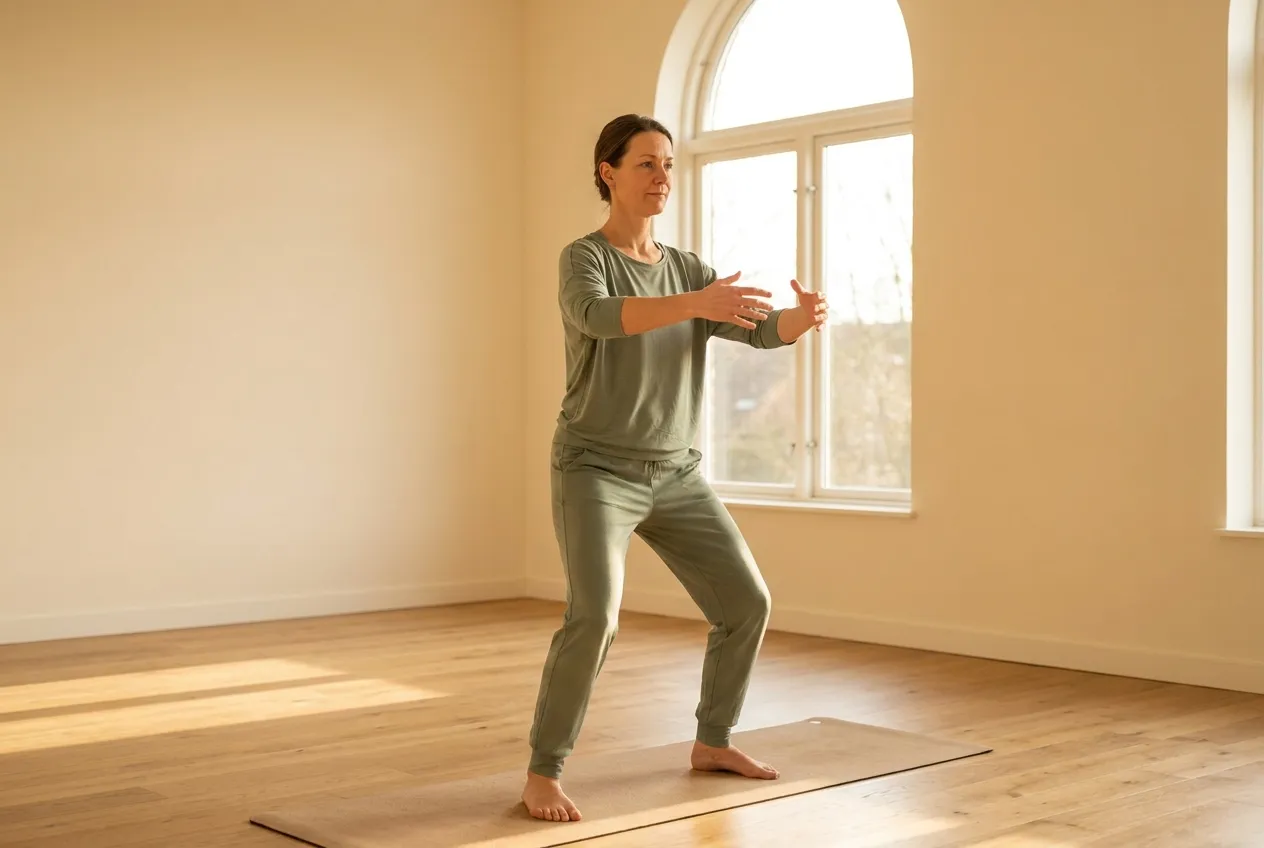
The honest answer is that the ten positions above are perhaps forty percent of the 24-form’s content. What the form adds is the connective tissue — the transitions that link posture to posture — and transitions are where tai chi actually lives. Holding ward off well is the entry fee; arriving in ward off from the previous movement, smoothly, with the weight and waist and arms finishing together, is the art.
So the progression runs: postures until they are comfortable (a month or two of the routine above), then a class or structured course for the form itself, keeping the posture drilling alongside as your correction workshop. When a movement in the form goes wrong, the fix is almost always to pull the underlying posture back out, repair it in isolation, and return it to the sequence — which is exactly how teachers have always worked, and why this vocabulary is worth owning before and after the form arrives.
Universal Checkpoints
Ten positions generate too many corrections to hold in mind at once. These five apply to every single one, and running through them as a scan — feet upward — catches most of what goes wrong.
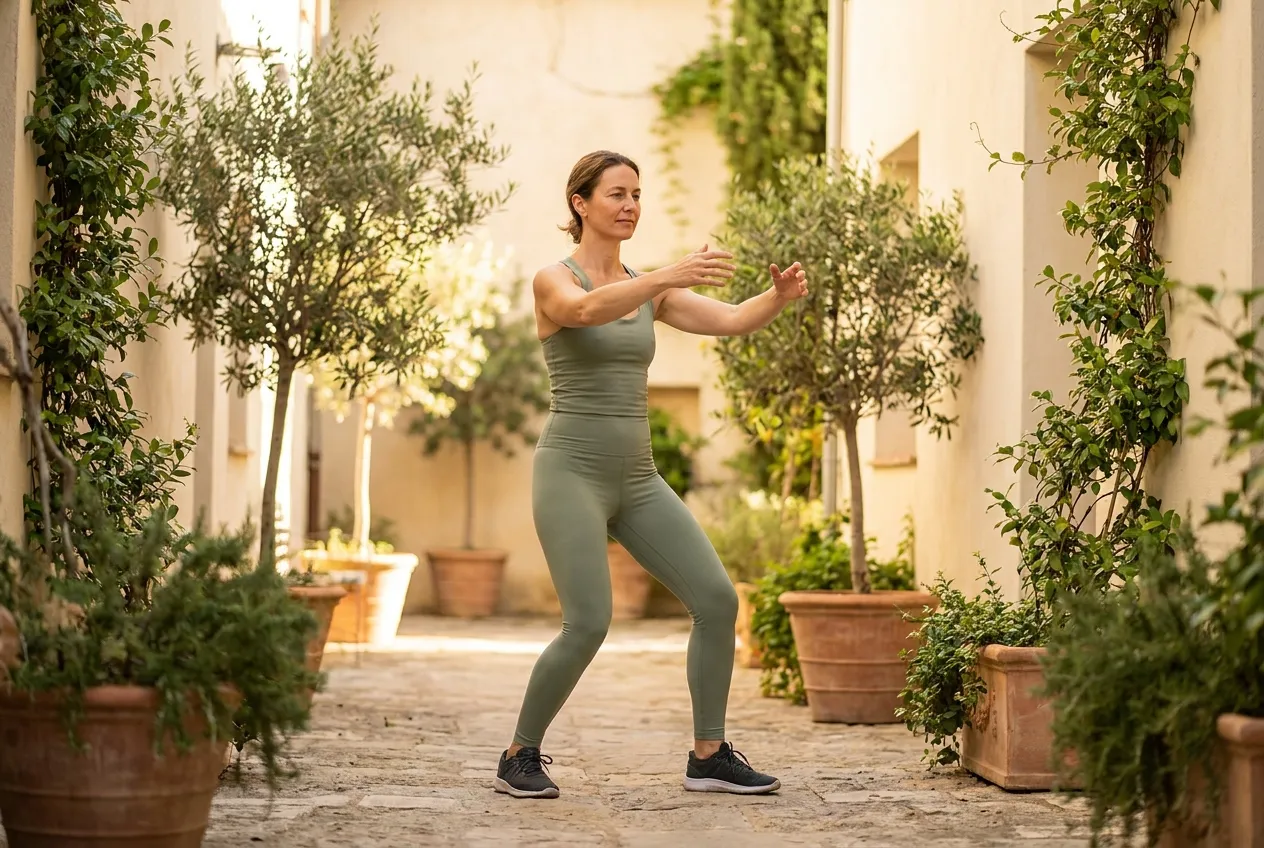
Feet flat and alive. Whole sole in contact, weight spread, toes relaxed rather than gripping. In every stance, you should be able to wiggle your toes.
Knees track the feet. Whatever the stance, each knee points where its foot points. The inward-collapsing knee is the most common fault in all beginner tai chi and the one most worth catching early, because it is also the one that eventually hurts.
Pelvis under, spine long. Tailbone dropped slightly, lower back neither arched nor tucked hard, crown of the head floating up. This single alignment is what makes a posture feel organised rather than assembled.
Shoulders down, elbows heavy. In every arm position without exception. Check twice: once when you arrive in the posture, and again three breaths later, when they will have crept back up.
Breath still moving. Any position that stops your breathing is being done too low, too far, or too hard. The breath is the canary for the whole system.
A note on symmetry, because it matters more than beginners are told: forms rehearse many postures on one side only, and practitioners who only ever follow the form develop measurably lopsided strength and balance. Drilling both sides, as this routine does, is not extra credit — it is repairing a known bias in the tradition’s own material.
Practising the Set
A workable fifteen-minute routine: two minutes of wuji standing; each stance entered and held briefly on both sides; then the seven postures in the order above, each entered slowly, held for three to five breaths, and released — both sides, always. Finish with two minutes of cloud hands and a quiet close.
Done a few times a week, this routine does two jobs at once. It builds the leg strength, balance and shapes that make learning a form dramatically easier — students who arrive at the 24-form with these positions established learn it in a fraction of the usual time. And it is a legitimate practice in itself: many people, especially those practising for balance and falls-prevention reasons, get most of tai chi’s measurable benefits from exactly this kind of posture work without ever memorising a sequence.
The thing I would tell my starting self: spend the early weeks on the stances, not the arm shapes. Every visible mistake in a beginner’s postures is downstream of legs that have not yet learned where the weight lives — and every hour invested there quietly fixes ten problems you have not met yet. More starting-out material is collected in the beginners section.